Showing posts with label DIY. Show all posts

Monday, March 9, 2015

getting stuff done

I feel like I always have a long list of things I need to do/want to do/should be doing/should have done. Well this weekend I finally did some of them.

The gate to our backyard has been catching on the cement walkway since winter started and things shifted. Finally this morning Braed and I went out there and moved it up so now, not only can we open it both directions instead of just one, but it also opens completely so we don't have to shimmy through a narrow opening. So satisfying.


We added this amazing geometric antelope head to our growing antelope collection. That spurred me to gather all the antelopes together and make a proper display instead of putting them on random surfaces in the front room. As soon as we brought it home I hung it right up because I knew if I didn't it would sit around and make me feel guilty for neglecting it for at least another few weeks. I like this much better.

Ever since we moved into our new house in August we've had our many guitars just sitting in the corner of our bedroom literally collecting dust. A lot of dust. This weekend I convinced Braed to move our clothes out of our closet to open racks so we could re-home the guitars in the closet where they will take up less space and make it easier to clean the room since I won't have to clean around the pile of instruments. I'm really loving the open look of the clothes, and especially being able to hide the guitars behind a curtain until we're ready to play them.


I've been lusting after wire baskets these days, but can't bring myself to buy any because they're so expensive. I found a tutorial on Pinterest about how to make your own and I finally gave it a try! Took a few different techniques before I found one I liked, but I'm pretty pleased with the results! The tutorial I found worked best for me was from Treasures and Travels Blog. I changed a few things, like folding down the top for a smoother, sturdier edge (like in this tutorial from Homemade by Carmona), using the wire itself to bind it together instead of additional wire (like in this tutorial from A Beautiful Mess), and I didn't add any handles. I found that the mesh in my wire was not perfectly even, but that didn't bother me too much. Over all I'm really pleased with how it all came together.


I also vacuumed the whole house, wrote back to all my pen pals, and put together a menu for the first half of this month. (We haven't gone shopping for any of the food yet, but that's another task to tackle...)

Feeling vaguely on top of life today. :)

Friday, August 29, 2014

new house, new skills

We moved recently.
I look like I'm yawning, but this is actually my excited face.
That means lots of new house projects and exploring of the new neighborhood. We're technically still in our same neighborhood, but we're just far enough away from our old house that our whole center of everything has moved decidedly east. This means we no longer live on a bus route and every morning results in an intense discussion of strategic planning to make sure we both can get where we need to go. It can be frustrating.

As a result, I've decided to ride my bike as much as I can (which is still not as much as would be really beneficial), but did result in an impromptu bike ride to the grocery store on Wednesday.
Awe: adorable.
It was really empowering to ride my bike to the store. There's a great little bike path that starts close to our new house that goes right past the grocery store, so it was a very low-key ride. It was just nice to not feel trapped in the house and unable to do something that needed to be done on my own.

This week I also figured out how to add a shelf in our weirdly huge and awkward bathroom storage closet.
Our bathroom is small, so it's really hard to get a picture of the storage situation.
Here's the cupboard. There's also a drawer beneath the main part that you can't see in this photo.
The whole thing takes up the entire wall from floor to ceiling.
We added shelves in the right-hand cupboard (shelf supports were already there).
We used cedar wood and now it smells amazing every time we open the door to get sheets or a towel.
It's kind of hard to see, but I put in that shelf separating the blue crates from the white boxes.
I drilled supports into the left and right sides of the cabinet and just rested cedar planks on top to make the shelf.
 I've never felt very comfortable with power tools, but I think I've mastered our electric drill (and by mastered I mean I can drill a hole into a piece of wood with fairly good success). It feels good.

I also hung curtains in our front room and bedroom. It's starting to feel a bit more like our home...
It's a sweet little sitting space, isn't it?

Saturday, September 7, 2013

perla beads

Yep. So. I made these.


So I've been crazy busy with work (worked my first 12 1/2 hour day this week—yay?) but in my limited and precious free time I've been melty-beading like a crazy person. I've decided (apparently) that necklaces are the best medium for their practical application.

(Also, my puppy chewed the flowers off my favorite pair of fancy shoes a while ago so I replaced them with Perler bead thingies. I still haven't figured out how to attach them, but I'm thinking super glue?)

Wednesday, July 10, 2013

the other blue couch

Remember how we got rid of our old blue curb couch and replaced it with a "new" blue curb couch? Well today Liza decided that she loved it so much she could just eat it! (Slash she was trying to get her chew toy out from behind it and pulled off a piece of the couch skirt trying to get at it.) Here's a questionable before picture of the couch:
I think this is a picture of it half steam cleaned.
Why are there no before or after steam cleaning pictures?
Good question.
You can't see it in this photo, but that bottom right corner of the couch skirt was a little tenuously attached to begin with, so a puppy tug unsurprisingly pulled it right off.

So, after inspecting the couch and noticing that it actually had rather attractive wooden legs, I borrowed a staple gun from the neighbors and pinned up the skirt to show them off! (Sexy, right?)

Here's what it looks like now:
Not too shabby, right? (I mean, aside from the uneven coloring from sun bleaching and the somewhat lumpy seat cushion...)

Plus, now it compliments our other crushed velvet, wooden-legged, thrift store found furniture even better. See?
Look! Wooden legged furniture!
(With a few puppy legs thrown in for good measure.)
I also used the staple gun to pin up some loose upholstery flaps on the other furniture too and everything looks so much cleaner now. I noticed on our orange wing-backed chair it looked like a previous owner had actually cut what looked like a chair skirt off of it and now all that was left were a few obnoxious hanging down bits that I stapled out of their misery.

I love how much more put together everything looks now! Makes me want to buy my own staple gun. (Though I think I tackled all the possible staple gun projects currently in the house, so I'm not sure what I'd do with it...)

Thursday, May 24, 2012

3-hole pamphlet tutorial

I just made my first bookbinding tutorial. With GIFs! Be impressed. You can check it out (and learn how to make this pretty baby on the left) at my other other blog, abookfull.tumblr.com.

Monday, August 15, 2011

moccasins

Last summer when I went to pick up my typewriter from Luis the repair man in Montclair with my brothers we stopped at a lovely second hand bookstore on the same block and I picked up a book called The Real Book about Real Crafts by C. C. Roberts. It was published in 1954 and some of the crafts reference things that aren't really common place for people to have lying around their houses or easily accessible at craft or hardware stores anymore. But what caught my eye and convinced me to buy it anyway was that the first thing I saw when opening it was a series of directions about how to make your own moccasins: I knew I had to have it.

Today the fulfillment of my moccasin dreams came true. 

Friday, August 12, 2011

making things

Today we went thrifting. I bought this picture for the frame because our other amazing frame that we used in our engagement pictures got thrown away by someone who had no business deciding if it should be thrown away or not. I don't wanna talk about it.

When we got home Garrett and I went on my Pinterest to find some crafts to do, which inspired me with how to use the photo in the frame. So I got some vinyl alphabet stickers, grabbed a smaller frame from a previous outing, and got to work.

Monday, August 8, 2011

cereal box folders

I made some cereal box folders today. This time, instead of just explaining what I did with just pictures of the final product, I took pictures all along the way. (And by that I mean Braeden took pictures for me all along the way: what a good husband he is.) Also, due to popular demand, this time the printed side of the boxes is face out, with the unprinted side face in. You can easily switch this by just reversing the folds shown here so you can have blank outsides and a party inside: you decide.

 1. The very least amount of materials you need are a cereal box, a pair of scissors, and one sheet of the paper the size you are making the folder for (I used 8.5x11.) Optional additional tools are a bone folder, ruler, exacto knife and self-healing mat.

Sunday, August 7, 2011

envelopes

Recently I've had letters that need to go out that don't fit in any envelopes I have around the house. So I made some. It was surprisingly easy: all I used was a piece of scrap paper, scissors, and a glue stick. I put the folded letter in the middle of the paper and folded the paper around it. Then I cut out over-lapping paper to thin the envelope out, glued the flaps, and there it is! Maybe I'll try making a more formal tutorial sometime. But until then, enjoy these photos:

Two envelopes!
Rounded square-type envelope made from left over butcher paper.
A more traditional-looking envelope made from scrap printer paper.

Friday, October 15, 2010

pictures from the recent past

I am going away to St. Louis this weekend and realized that I will most likely acquire a million new pictures and things to talk about, so I'd better upload these random pictures from the past now before they disappear in the nothingness that is my hard drive forever.

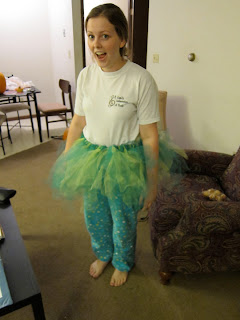
It was my friend Hillary's 22nd birthday so I brought her over my tutu for her to wear and help her celebrate. Because what better way to celebrate a 2-2 birthday than with a tutu? No way.
I made this center piece for dinner group on Sunday. I got the gourds at the Farmer's Market and the flowers at the cutting garden with Braeden on Friday. The runner is hand embroidered from Ecuador. Loff it.
Close up of the flowers, Don't mind the ones that are just a little dead already...
I made this bags yesterday for the Gloria. She had these blank totes just lying around and asked me to work some magic on them. I think they came out pretty ok.
The one in the middle has my face on one side and I HEART YOU on the other. Why? Because I heart Gloria. Fact.
Braeden and Jarrod. They are writing a ballad and call themselves The Bards. Or something. This is Jarrod's new facebook picture that we took today in my back yard.
These are the first books I made for my bookbinding class. I got an A-, no big deal. (I think the minus was due to the fact that I didn't put my name on them because I didn't even know that was a requirement. Good trick, Penny.)
That is all. For now at least. Enjoy.

Monday, September 6, 2010

books books books books

Tonight for FHE I was in charge of the activity. So what did we do? Made books of course! I found these great instructions online that illlustrate how to make what Esther and I call InstaBooks but what is perhaps more commonly known as an origami book so you can make your own books too!
For the activity I brought a bunch of paper that had already been printed on one side (a great use for it since this project hides the printed side), a bunch of rubber stamps, and a few example books: it was a blast! Everyone really had a good time writing stories, letters home, or just playing around. One of the things I really like about this book form (besides the fact that it uses a single sheet of paper and no glue or thread) is that after you make it you can flatten it out and photocopy as many as you would like! It's a great format for a mini-zine or even birthday invitations or menus, anything you'd need multiples of.

A little while ago I made a lovely mini-insta book using my typewriter, rubber stamps, a fine-tipped sharpie pen (which I am in love with) and my own finger prints. I will share this book with you now. Enjoy.

Sunday, August 29, 2010

cereal box folders

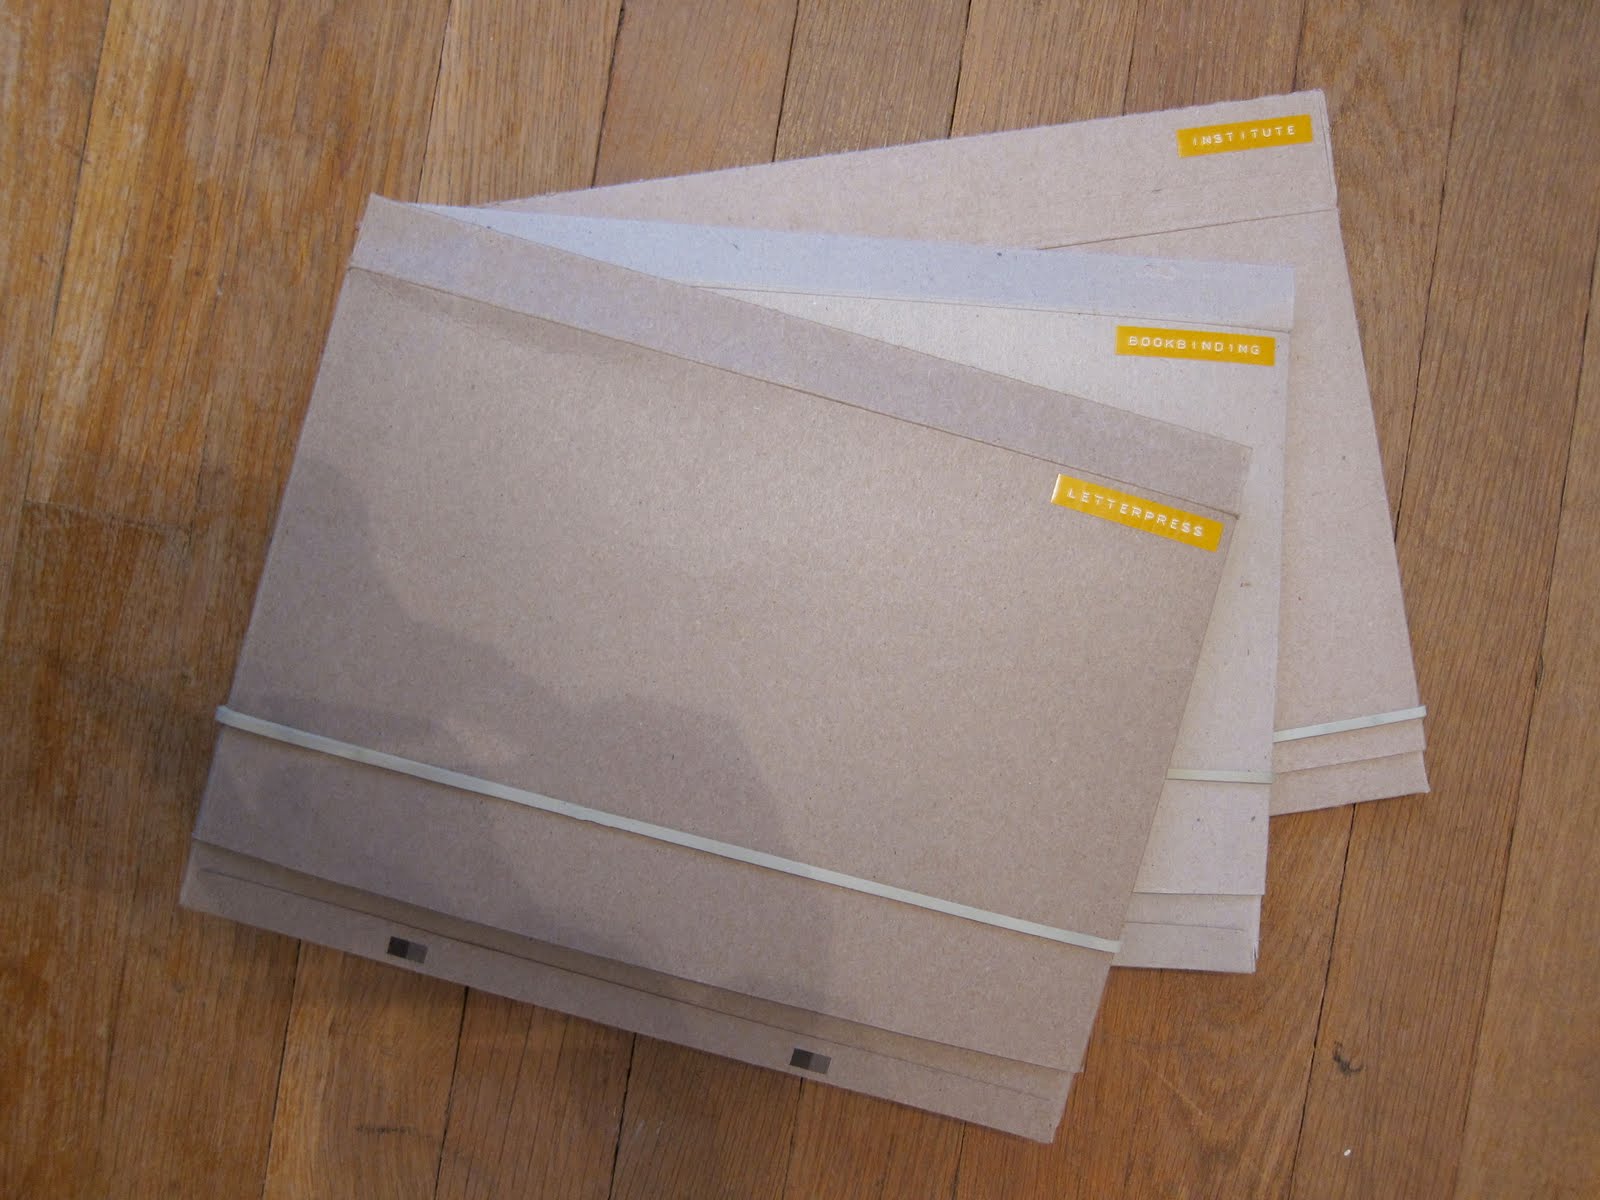
I realized the other day that I am in need of folders for my classes that I'm taking this semester. I've already spent a good deal of money moving and getting settled, plus I know I'll be spending a lot on materials for my classes later on in the semester, so I'd rather not spend even a few bucks on something as basic as folders. So I decided to try my hand at making my own. As with everything, some turned out better than others, but I now have 3 folders to my name that are clever, functional, and earth-friendly. Here are some photos (keep in mind that you can click on any photo to enlarge it so you can see the detail better.):

Here's one of the boxes I started with. The only alterations I've made thus far are to cut the box open (I used a metal ruler and rotary cutter to cut about 1/8th of an inch off one side as the box was folded flat on itself) and cut off the flaps on that small, middle section that used to be the side of the box.
Here that same folder is all finished. All I did was turn the box over so the inside of the box is now the outside of the folder. Then I folded the flaps over so the top and bottom flaps are the tops and bottom of the inside pocket, and the nutrition facts panel is folded over as the side of the pocket with its flaps folded over and glued onto the back to make the pocket solid.
Here's the back of the folder. I punched tiny holes in the back cover before gluing the pocket flaps down and used some bookbinding thread to attach a large rubber band. You could use an elastic headband or those elastics for gift wrapping as well if you wanted. In fact, they might last longer, too, since they aren't raw rubber.
Here's a close up. You can see that the thread actually doesn't go through the rubber band, just around it so it can slide around and doesn't weaken the rubber band by punching holes in it.
Here's another folder I made, and this time the cover worked out right-side up. I suppose the Apple Cinnamon Cheerios one can be right-side up too, if you just put the pocket on the left side instead of the right. Things to think about.
Here are all 3 folders together. Fun fact: not all cereal boxes are the same size. Make sure you check the paper you want to put in the folder with the size of the front/back sides of the box before you start to folder-ify it. If the box is tall enough (if you are using standard 8/5 x 11 in paper, the box needs to be a little over 11 inches or more) but not wide enough (it's narrower than 8.5 in) you can fold the top of the folder down in a different place to allow more room. I had to do this with the two folders pictured above. If you look, the fold on the side of the box is actually the second one I'd made: the first one was in the center of that panel and it made the folder too small. So I changed the fold to give the paper about 1/2 in more space and it worked much better.
I realize that these folders are not the conventional 2-pocket folders you can buy at the store. These are modeled after folders that I used while I was on my study abroad in Spain. The three flap technique was nice because then you never had to worry about your pages falling out of your folder if you picked it up upside down, and I liked the security of the rubber band to keep it closed. The Spanish flaps weren't glued in any way, though, and I may regret gluing mine if I can't fit enough papers in. We'll see how it goes: there's always room for improvement.

And now I have a confession: personally, I really don't like it when instructions don't have pictures of each of the steps so you can follow along, but when I think about doing that myself I get really intimidated. Maybe I will conquer my fear someday. But for now, I hope this might inspire you to try your hand at your own folder making, either using this cereal box idea, or something else. If you do try it out, let me know how it goes!

In the mean time, I'll let you know how the folders hold up over the semester.

Wednesday, August 4, 2010

kid crafts

I've been babysitting this summer to help earn my keep (aka money for grad school) and I like to do paper crafts with the kids. The other day we made paper cities, a craft inspired both by my brownstones book and by a craft in Esther K. Smith's Magic Books and Paper Toys. The kids had a really good time with it and got really creative!

Lindsey made this one. She colored the buildings and then made a road and little cut-out cars to go on it. Amazing!

This is a mini-city that I made.

You can see how small it is when compared to Little Matthew's normal-sized city here. Matthew didn't want to color his city, so we just made it really, really, really long. He seriously loves playing with it, folding it and un-folding it, shaping it into a circle to make a cage for his plastic tigers, etc.

With some of the paper scraps from Lindsey's cars we made letter books. (Books in the shape of the first letter of the kids' names, then on each page we wrote something that started with that letter that the kids came up with themselves. If your book was big enough you could maybe have them draw a picture, too.)

In classic, Lindsey form, she colored hers. I loved it.

This was Daniel's. My favorite part was the words he picked to go inside.
(see below)

Dexter? Really? Awesome.
Here you can also see how the book is structured. I made each book by folding 3 or 4 pages in half, then lining one side of the letter up against the fold. Next, staple them together on the fold, cut the letter out and violá! Instant letter book.

Here was Little Matthew's book. I really liked the shape of the M and also how the book still looks cool even with only 4 pages.

Earlier in the week we also made paper wallets, a craft Lindsey LOVED. (I wanted to take some pictures of her credit card that she made to go inside it but of course the wallet was MIA and is now probably lost forever.) You can find the tutorial online at Instructables.com (though I altered the pattern so you don't need any tape to make it). I made one of my own to use as packaging for a gift card present to make it less lame.